 how-to
How to Stop Rodent Infestations: A Step-by-Step Plan
Table of Contents
- Step 1: Confirm the Signs of a Rodent Infestation
- Step 2: Remove Food Sources and Water
- Step 3: Learn How to Seal Holes to Keep Mice Out
- Step 4: How to Get Rid of Rats and Mice Already Inside
- Step 5: Clean Up Safely and Sanitize the Space
- Your Rodent Prevention Checklist for Every Season
- When to Call a Professional for Rodent Control
- Frequently Asked Questions
Last Updated: October 17, 2026
Step 1: Confirm the Signs of a Rodent Infestation
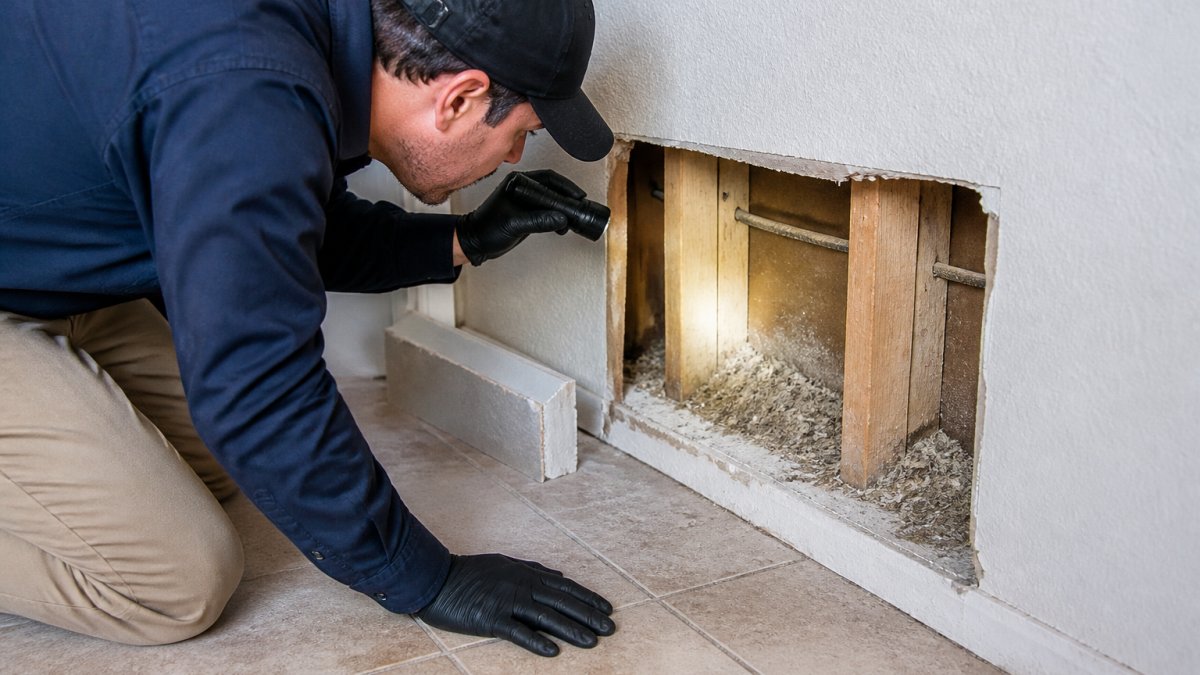
Mice and rats rarely show themselves, they leave evidence instead, and reading it is the first step in how to stop rodent infestations. At Local Choice Pest & Landscape Nutrition, we tell homeowners the droppings come before the sightings, and the damage before the droppings.
Droppings, Grease Marks, and Gnaw Damage
A rodent infestation is an active population of mice or rats living, feeding, and breeding inside or around a structure. Confirm it through physical evidence, not sound alone.
Look for these signs:
- Dark droppings the size of rice grains (mice) or larger pellets (rats)
- Greasy rub marks along baseboards where bodies brush past
- Gnaw marks on wood, wiring, or food packaging
Fresh droppings are soft and dark. Old ones crumble and turn gray. That difference tells you whether the problem is current.
Gauging Severity: Mice vs. Rats
Mice and rats leave different clues, and the distinction changes your plan. Mice travel in short bursts and hug walls; rats are wary, follow set routes, and need more room.
- Mice: droppings look like dark grains of rice; nesting material appears in drawers and closets
- Rats: droppings are larger and capsule-shaped; you may find burrows near foundations or grease trails along pipes
A handful of droppings in one spot suggests a small, recent problem. Droppings along multiple walls, in the attic, and under the sink point to a larger, established population, where a step-by-step plan matters more than a single trap.
Step 2: Remove Food Sources and Water
Traps and bait fail when the pantry is open. Rodents stay where food is easy, so cutting off their supply is the most reliable way to stop rodent infestations from taking hold, and it costs nothing.
Kitchens, Pantries, and Pet Food
Start where the calories are. A common mistake is cleaning the kitchen but forgetting the garage kibble.
- Move cereal, flour, rice, pasta, and crackers into airtight containers with sealed lids
- Store dry food, seeds, and birdseed in metal or heavy plastic bins
- Feed pets on a schedule and lift the bowl after meals
Garbage, Clutter, and Hiding Places
Clutter is a rodent hotel, boxes, newspapers, and stored fabric give mice cover to move unseen.
- Use garbage cans with tight-fitting lids and empty them often
- Keep bags off the floor and away from exterior walls
- Clear cardboard and paper stacks from the garage and basement
Step 3: Learn How to Seal Holes to Keep Mice Out
Sealing is the permanent fix. Traps remove rodents already inside, but exclusion stops the next wave, and decides whether the problem returns.
Inspecting Doors, Windows, Foundation, and Utility Openings
Walk the exterior with a flashlight and check every opening. Mice fit through dime-width gaps; young rats squeeze through nickel-sized holes.
- Check door sweeps and the gaps under exterior doors
- Look at window frames and screens for tears
- Inspect the foundation line for cracks and voids
Materials That Actually Block Rodents
Rodents chew through foam and plastic. Use materials they can't get past.
Schedule a Free In-Home Estimate →
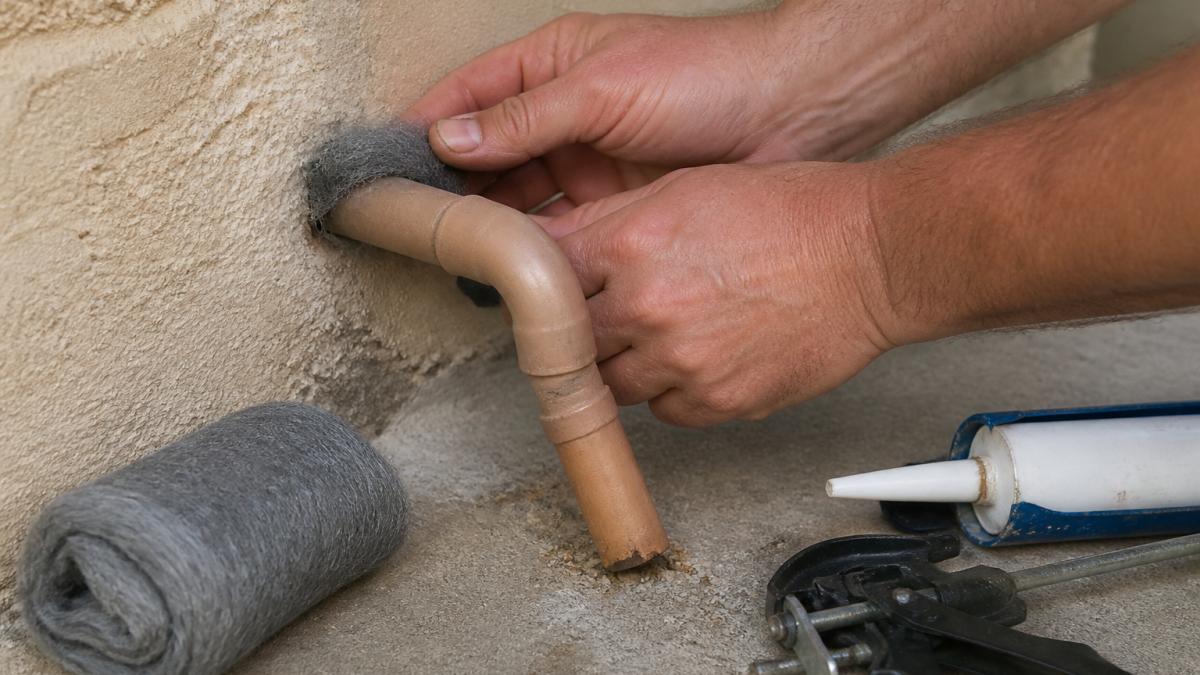
- Steel wool or copper mesh packed into gaps, then sealed over
- Concrete or mortar for foundation cracks and larger voids
- Metal flashing around vents and utility openings
Stuff the gap first, then cover it. A hole filled with mesh and topped with sealant holds up far better than sealant alone.
Step 4: How to Get Rid of Rats and Mice Already Inside
Sealing keeps new rodents out; now deal with the ones already in the walls. DIY trapping fails not because of the trap but because of placement, timing, and monitoring, get those right and a modest number of traps outperforms a dozen set at random.
Choosing the Right Trap for the Job
There is no universal best trap. The right choice depends on placement, species, and who else lives in the house.
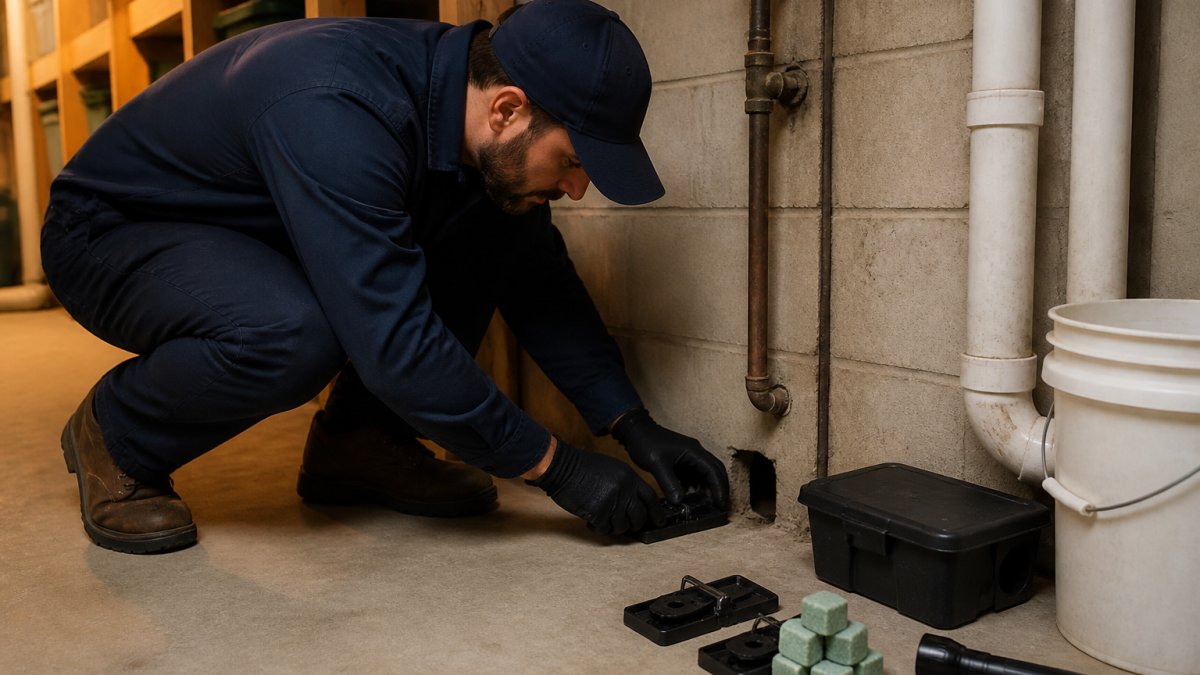
- Snap traps (traditional): The lowest-cost option and still one of the most effective. Wide-trigger-plate models are easier to set and fire more reliably than older narrow-trigger designs. They are humane only when checked daily.
- Electronic traps: Kill quickly and contain the carcass, which matters in kitchens and garages. They cost more and need batteries, so they suit high-traffic spots rather than whole-house use.
- Glue boards: Effective, but they raise humane and bycatch concerns, a stuck rodent can suffer for hours, and they can catch pets, snakes, and beneficial wildlife. Many practitioners avoid them, and some jurisdictions restrict them. If you use them, check at least twice a day and keep them away from pets and children.
A practical starter kit for a typical home is a mix: a handful of snap traps for wall runs and behind appliances, one or two electronic traps for high-traffic or hard-to-reach spots, and no glue boards unless you have a specific, monitored reason to use them.
Placement: The Part Most People Get Wrong
Rodents do not wander into open floor space. They travel predictable routes, along walls, through corners, behind appliances, under cabinets, using whiskers and scent trails. A trap in the middle of a room catches nothing.
- Set traps tight against walls and in corners, trigger end toward the wall so a rodent moving along the baseboard passes over it.
- Orient snap traps perpendicular to the wall so the rodent crosses the trigger rather than walking parallel to the bar.
- Use several traps spaced a few feet apart along the same run rather than one trap in one spot. Rodents often travel in pairs or small groups, and a single trap may catch one and miss the rest.
Monitoring and Follow-Through
A trap you don't check is a trap that stops working. Check every trap at least daily, twice daily in kitchens and living areas, and record what you catch and where.
Expect a lag. Rodents are neophobic, wary of new objects, so a fresh trap may sit untouched for days. Give a well-placed trap three to five days before relocating it.
Rodenticide Risks and Safe Bait Use
Bait kills rodents, but it also poses real risks to kids, pets, and wildlife. The EPA guidance on rodenticide safety is clear that tamper-resistant bait stations are required for consumer products.
- Use tamper-resistant bait stations only, never loose bait
- Place stations where children and pets cannot reach them
- Keep stations secured and labeled
Secondary poisoning is the overlooked risk: a pet or hawk that eats a poisoned rodent can be harmed too. That's why we lean on traps and exclusion first, reserving bait stations for larger, established infestations or exterior perimeter control.
Never place loose bait pellets or blocks where pets, children, or wildlife can reach them. A poisoned rodent can be eaten by a pet or a bird of prey, and the poison moves up the food chain. Tamper-resistant stations and strict label compliance are the minimum, not the ideal.
Step 5: Clean Up Safely and Sanitize the Space
Cleaning after rodents is not normal cleaning. Droppings, urine, and nesting material can carry disease, so the cleanup needs care.
- Wear gloves and a mask before you start
- Ventilate the area by opening windows and doors
- Spray droppings with a disinfectant before wiping, never sweep dry
Never vacuum dry droppings. That sends contaminated dust into the air (the CDC). Wet it down first, then remove it.
Schedule a Free In-Home Estimate →
Sweeping or vacuuming dry droppings can spread contaminated dust through the room. Wet the material with a disinfectant first, then wipe it up with paper towels and bag it.
Your Rodent Prevention Checklist for Every Season
Rodents move with the weather. A prevention checklist keeps you ahead of them instead of reacting after the damage is done.
| Season | Focus Area | Key Action | Frequency |
|---|---|---|---|
| Spring | Exterior | Seal foundation cracks and gaps | Once, then inspect monthly |
| Summer | Yard | Trim trees, shrubs, and branches near the home | Monthly |
| Fall | Entry points | Check doors, windows, and utility openings | Before cold weather |
| Winter | Interior | Store food airtight and clear clutter | Weekly |
| Year-round | All areas | Inspect for droppings and gnaw marks | Monthly |
Work through the list in order and keep it on the fridge. A prevention checklist is only useful if you actually run it.
When to Call a Professional for Rodent Control
Some infestations are too large or well hidden for DIY, and the hard part is knowing where the line is. A few mice caught in a week is a DIY job. A population that keeps producing new activity after you've sealed and trapped is different, the difference is usually not effort but access to the hidden spaces where rodents breed.
Decision Criteria: When DIY Is No Longer Enough
Call a professional when any of the following is true:
- Activity persists after a full exclusion and trapping cycle. If you've sealed entry points, set and monitored traps for two to three weeks, and still see fresh droppings or hear activity, the population is either larger than your trap coverage or breeding in a space you can't reach.
- You hear activity in walls, ceilings, or the attic. These spaces are difficult to inspect safely and are where rats in particular tend to establish. A professional has the tools to inspect and treat them without cutting open finished surfaces unnecessarily.
- Droppings appear in multiple rooms or on multiple floors. Widespread evidence points to an established, distributed population rather than a single intruder.
What a Professional Inspection and Treatment Actually Involves
A good professional visit is not just more traps. It follows a sequence:
- Inspection. A technician walks the exterior and interior, identifies entry points, reads the evidence to determine species and severity, and checks hidden spaces, attic, crawl space, garage, and utility chases.
- Species identification. Mice and rats require different strategies, and the plan should reflect which one you have.
- Exclusion. Sealing and proofing entry points with rodent-resistant materials, the same principle as DIY, but done comprehensively and with access to areas most homeowners can't safely reach.
- Removal. Trapping and, where appropriate, tamper-resistant bait stations placed according to label directions and kept away from children, pets, and wildlife.
- Sanitation guidance. Advice on safe cleanup of droppings, urine, and nesting material, and on disinfecting affected surfaces.
- Follow-up. A return visit to check activity, confirm the population has dropped, and re-inspect entry points. Follow-up is where most DIY efforts fall short, and it's a core part of a professional plan.
What to Ask Before You Hire
- What species do you expect, and how did you determine that?
- Will you seal entry points, or only trap and bait?
- Do you use rodenticide, and how do you keep it away from children, pets, and wildlife?
Pricing depends on property size, species, and scope, so a free in-home estimate beats a phone quote. Ask for it in writing and confirm what follow-up is included before you commit.
At Local Choice Pest & Landscape Nutrition, our technicians are background-checked, and our products are chosen to be safe for kids, pets, and desert wildlife.
Frequently Asked Questions
What should I do first if I find signs of rodents?
Start by confirming the signs of a rodent infestation: droppings along walls, grease marks, gnaw damage, and shredded nesting material. Then remove easy food sources, seal garbage, and set traps near the activity. Avoid stirring up dust in areas with heavy droppings until you have gloves and a mask ready. If you see multiple rats or damage to wiring, call a professional, because a large population is harder to control with traps alone.
How do I seal entry points to keep mice and rats out?
Learn how to seal holes to keep mice out by walking the exterior and filling every gap. Mice squeeze through openings the size of a dime, and rats through holes the size of a nickel. Stuff steel wool or copper mesh into gaps around pipes and utility openings, then cover with sealant or concrete. Repair torn door sweeps, screen vents, and cracks in the foundation. Trim branches away from the roof so rodents cannot use them as bridges.
What attracts rodents to a home?
Rodents come inside for food, water, and warmth. Open garbage, pet food left out, birdseed, and dry goods in thin packaging all draw them in. Clutter and cardboard boxes give them nesting spots, and leaks or pet bowls supply water. In desert climates, rodents also move indoors when temperatures swing. A rodent prevention checklist that covers food storage, garbage, clutter, and exterior sealing removes the reasons they stay.
When should I call a pest control professional?
Call a professional when you see multiple rodents in daylight, find droppings in several rooms, hear activity in walls or the attic, or notice gnawed wiring. These point to a settled infestation rather than a single intruder. A pro can inspect for entry points you missed, place bait stations safely away from kids and pets, and set up ongoing rodent control so the problem does not return. Ask for a written guarantee before you book.